





The previous articles covered the principles behind various IP strategies. This article shifts to hands-on implementation, walking through the specific configuration process for pairing a fingerprint browser with proxy IPs, helping you build an operating environment from scratch that can support multi-account matrix management. The entire process is divided into four steps: preparation, proxy configuration, fingerprint browser setup, and account binding.
Step 1: Preparation
Before beginning the actual configuration, two things must be clarified: the number of accounts and the target markets. These two factors determine how many independent IPs need to be procured and how the geographic distribution of those IPs should be arranged.
For example, if you plan to operate 10 TikTok accounts covering both the Southeast Asia and North America markets, you need to plan in advance how many IPs are allocated to each market, to avoid mismatches between account and IP origin caused by last-minute adjustments.
Step 2: Obtaining and Configuring Proxy IPs
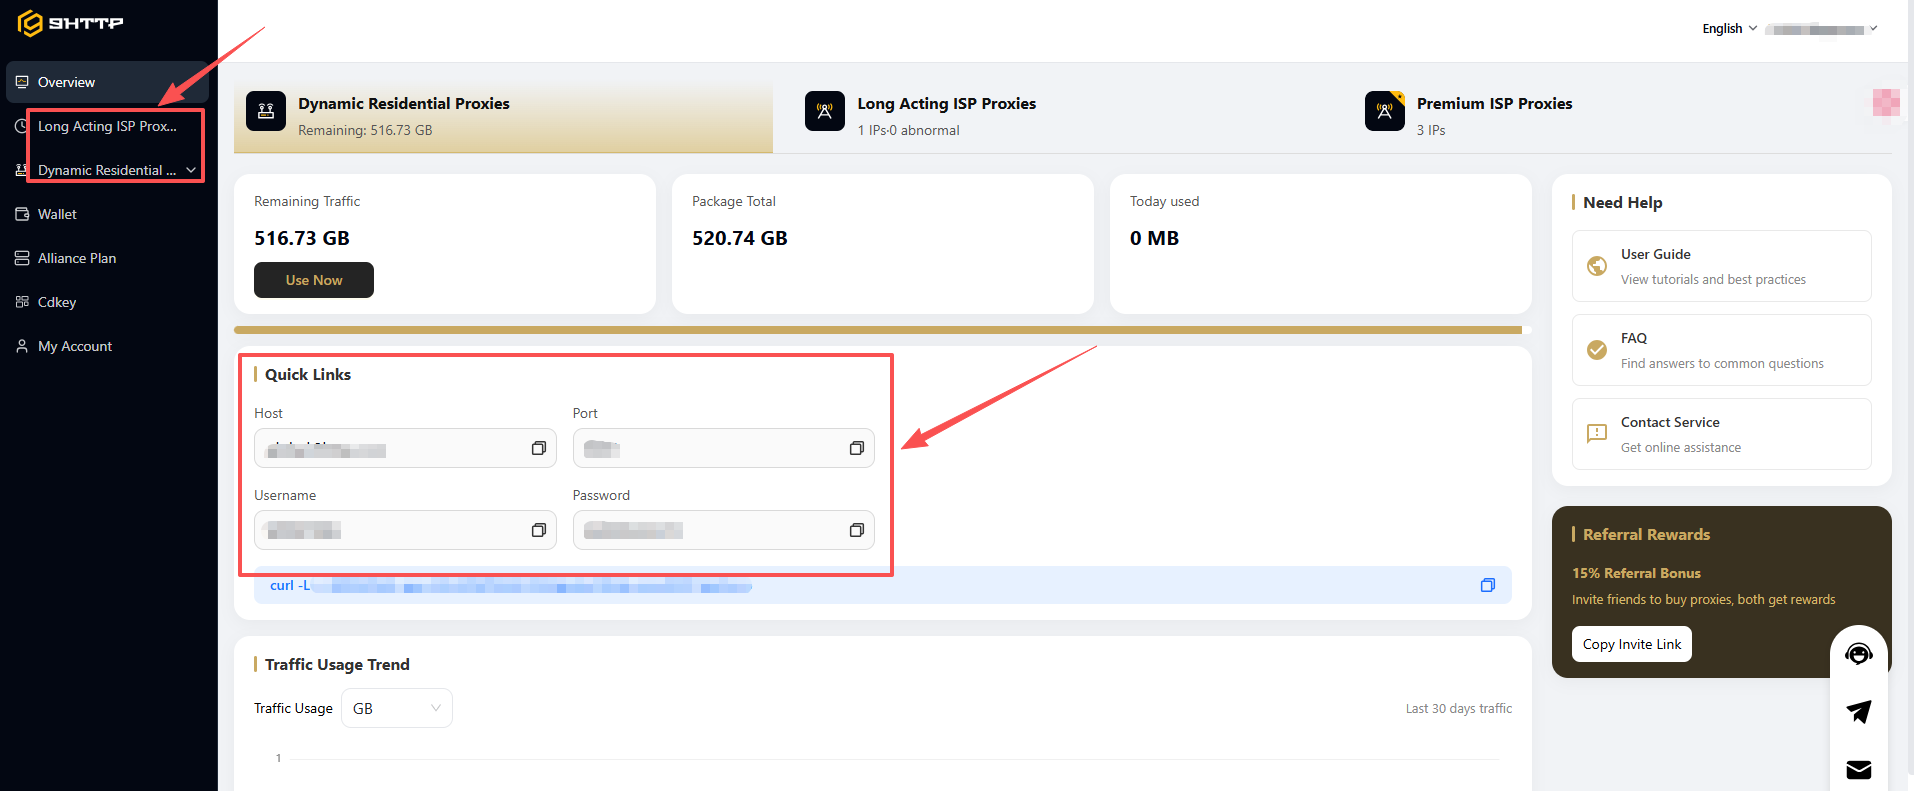
Log in to the 9HTTP dashboard and select the corresponding number of IP resources based on your account volume. For accounts intended for long-term, stable operation, Long Acting ISP Proxies are recommended. If you need to cover more regions and simulate a wider variety of real user environments, Dynamic Residential Proxies are a better fit.
Once the IP resources are obtained, you will receive the corresponding connection details — IP address, port, username and password, and so on. This information will be bound to specific fingerprint browser environments in the next step, so it's recommended to organize it into a spreadsheet in advance for easier batch import.
Step 3: Setting Up the Fingerprint Browser Environment
Open the fingerprint browser and create a new browser environment (commonly referred to as a "window" or "profile"). Each environment corresponds to a single, independent account and requires the following settings to be configured separately:
Proxy settings: Enter the IP connection details obtained in the previous step into the corresponding fields, including IP address, port, and authentication credentials.
Device fingerprint parameters: These include operating system, browser version, screen resolution, time zone, language, and more. It's best to align these parameters with the device characteristics common to your target market — for example, for accounts targeting the North American market, the time zone should be set accordingly to a North American time zone.
Once configuration is complete, test the connection to confirm it's working properly and that the IP can access the target platform without issues.
Step 4: Account Binding and Batch Management
Once each fingerprint browser environment is configured, you can log in to or register the target account within that environment. One important note here: each environment should be bound to only one account — avoid mixing accounts across environments.
If you're managing a large number of accounts, it's recommended to use the fingerprint browser's batch management features to group environments by market, account type, or other relevant dimensions, making them easier to review and maintain going forward. It's also worth developing the habit of regularly checking the connection status of each IP — if any IP shows signs of abnormal behavior, contact your provider promptly for a replacement to avoid disrupting the corresponding account's operations.
Summary
Pairing a fingerprint browser with proxy IPs is, in essence, about building a relatively independent and stable network and device environment for each account. From planning in the preparation phase to the specific configuration steps, every stage requires careful attention to detail in order to truly deliver the benefits of multi-account matrix management. Combined with the IP strategy principles covered in earlier articles, this hands-on workflow can serve as a reference manual for your team's day-to-day operations.